


")
Easy Painted Pumpkin Ideas to DIY This Halloween … Discover the best ways to paint pumpkins for Halloween and fill the house with decorative elements made by your hand, here are some tips to consider doing it correctly before you get started.
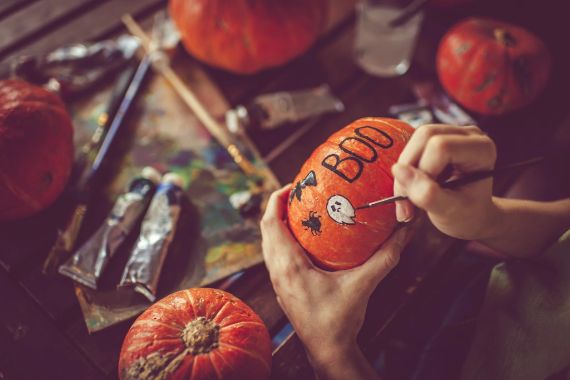
Painting pumpkins are one of the most fun activities for kids who love a scary-good craft. Paint (or Carve) Pumpkins are such fun traditions that can be done with the kids (they’ll have a great time and good for family gathering). With little vision here’s how to paint a pumpkin.
But do you know how do you paint a pumpkin for Halloween?
Here we explain no art skill required to paint the pumpkins with so that they last and look good in your house.
What paint works best on pumpkins?
The best thing to paint the pumpkin is acrylic paint. Acrylic paint dries quickly and cover well the surface with a chalky finish paint. Because acrylic is water-based It’s quick-drying, Easy to use, and clean-up is a breeze suitable for kids and adults painting… if you mess up, you can wipe it off with a rag and start over. Acrylic paint is also what paint to use on fake pumpkins.
HOW TO PAINT A PUMPKIN
Painting is usually easier than carving out a pumpkin. Painted Pumpkins don’t rot within a few days as carved Halloween pumpkin. They last longer, maybe the entire season and is the best way to make your creation look great through Halloween. Although no – carve pumpkin depends on the drawing or design you want to do it is an easy DIY.
The important thing is that you follow the steps that we put below, and you can boast of pumpkins made by you.
WHAT DO YOU NEED TO PAINT A PUMPKIN
In addition to the acrylic paint that we have told you before, you also need:
• 1-inch and 3-inch Brushes,
• cotton, cotton swabs, paper towels, and/or cloths
• Permanent marker.
• Wax paper- Transfer paper-.
• A craft stealer (if you want).
• Glitter, yarn, stickers, sequins or other embellishments
STEPS TO PAINT A PUMPKIN
Choose your pumpkins, remove dirt and debris with a damp paper towel to,
1. With the permanent marker, master your design on the pumpkin.
2. Place the newspapers on the table surface you are going to paint on.
3. Start painting a base color. Apply the paint in several layers to make the color saturated. At this point, remember that if you want to give more than one coat of paint allow drying for at least an hour. (Light colors need more coats than dark colors), you must wait for the paint to dry completely before adding more colors otherwise the paint can mix, and you will not have the color you want.
4. To secure your painting and make it look better, you can use a sealer, both before and after painting… This is how do you get paint to stay on a pumpkin.
5. Put your decorative elements as a final touch once all these steps have been completed, like… stickers, sequins, glitter… Whatever you want!
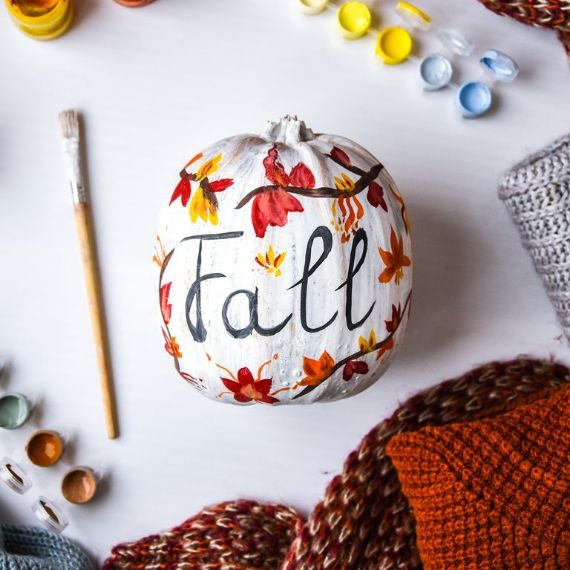
Make your painting simple, you don’t have to do something complicated, simple beautifully painted pumpkins add still add the holiday cheer to the occasion and the interior will be transformed.
In addition, painting is an interesting craft for kindergarten and school. Passionate adults also have their share to create beauty with their own hands to show their potential.
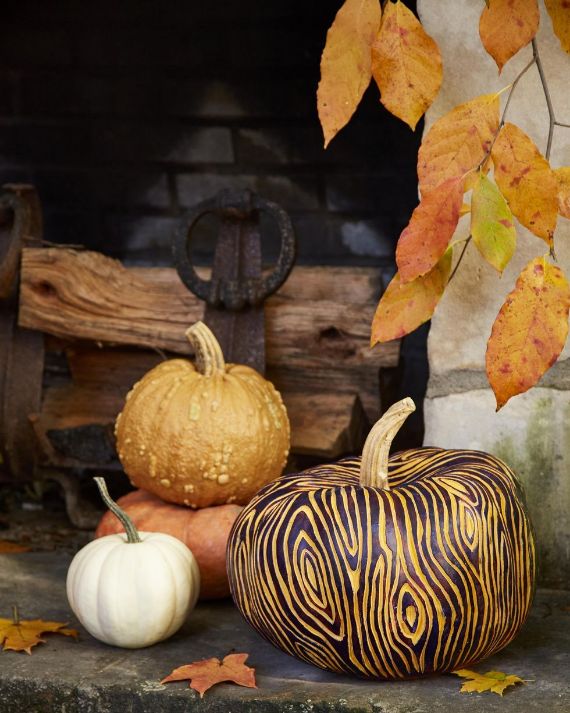
Enjoy some inspirational ideas for those who want to decorate the house with painted pumpkins’
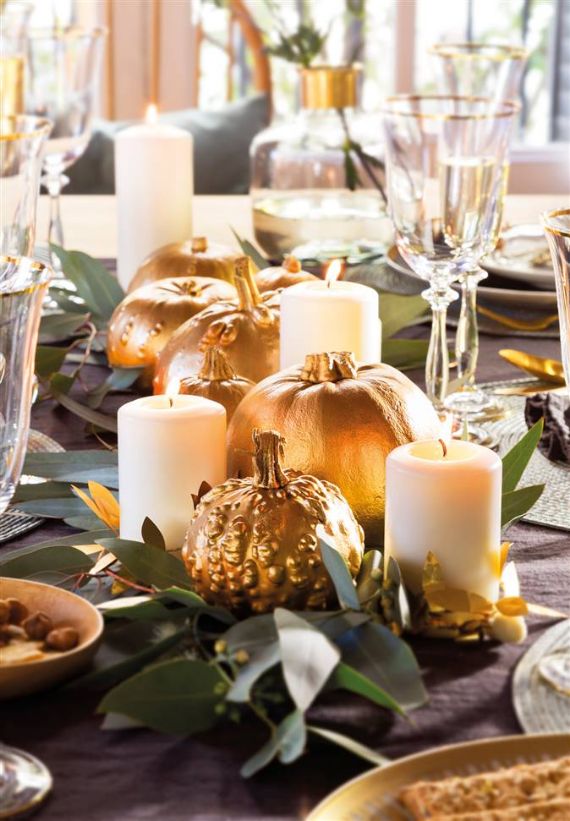
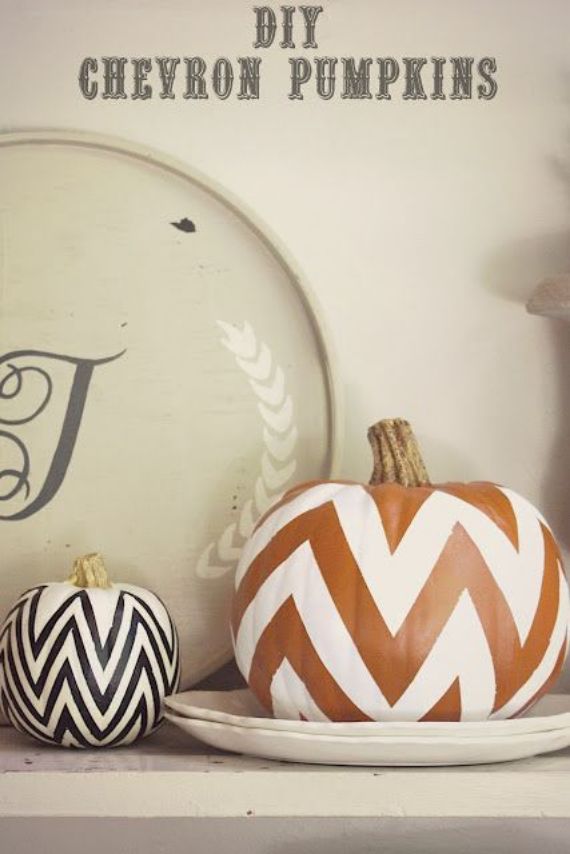
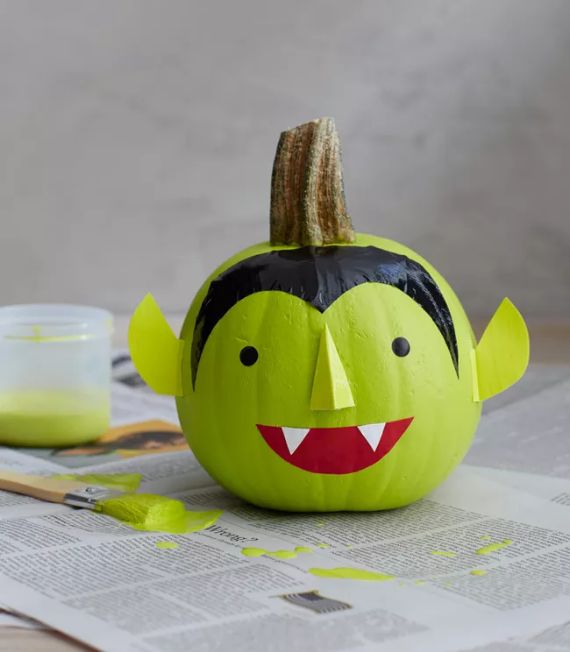
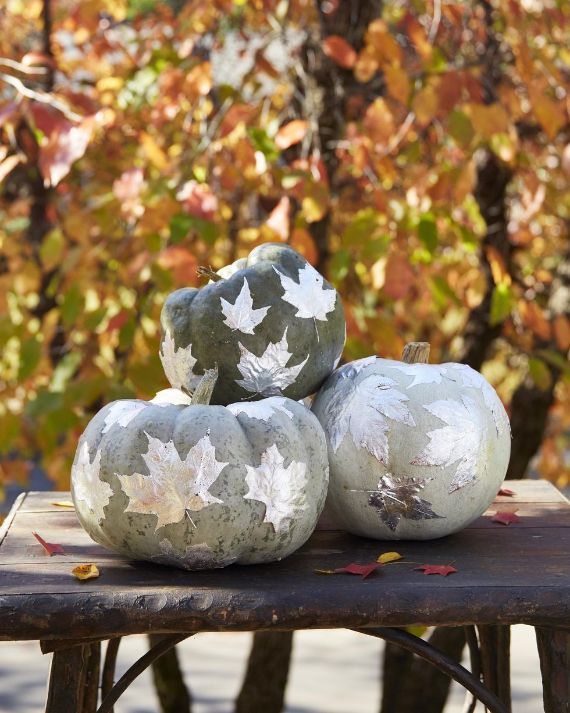
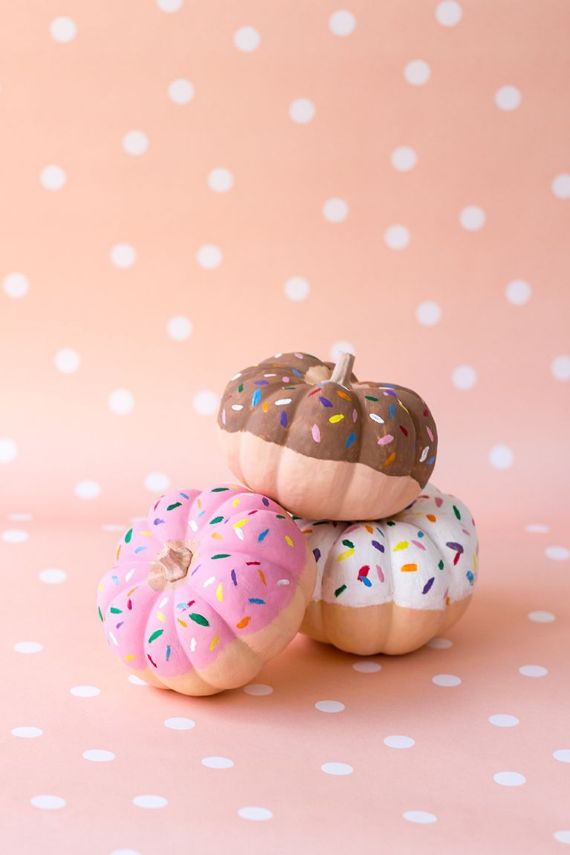
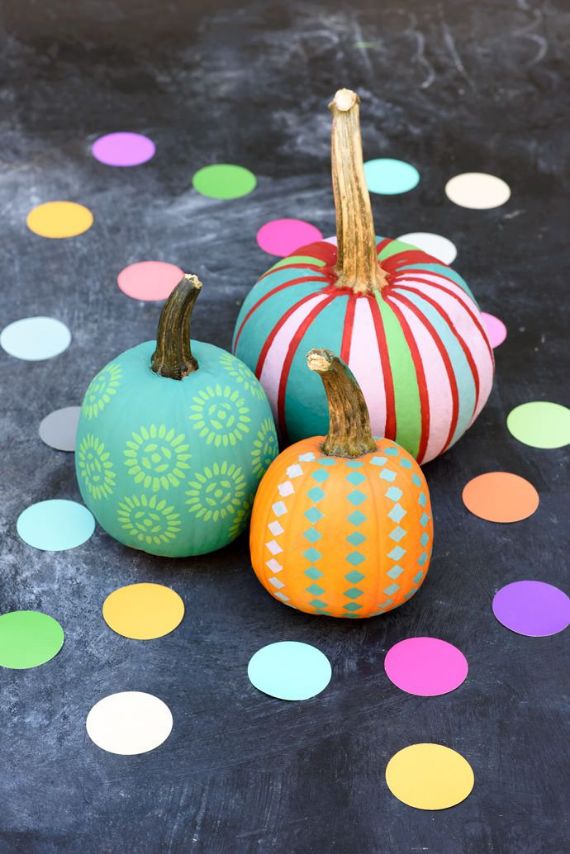
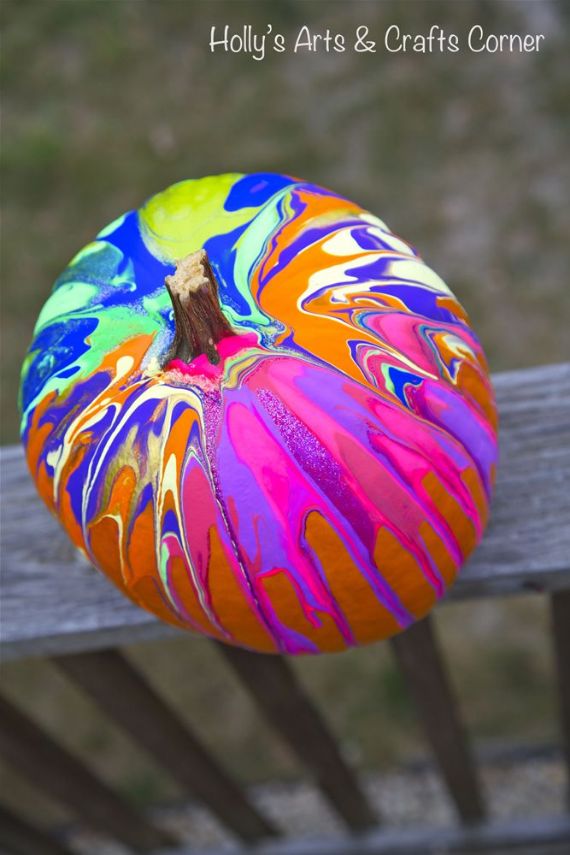
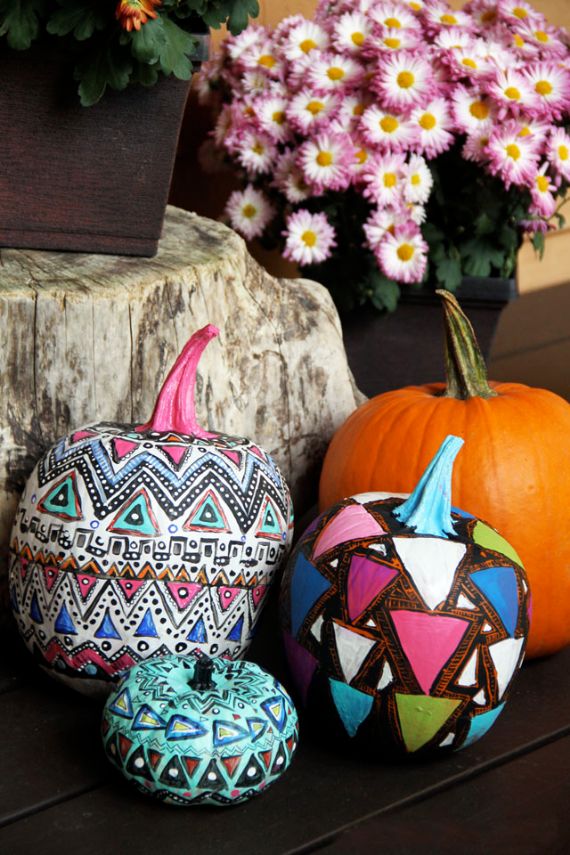

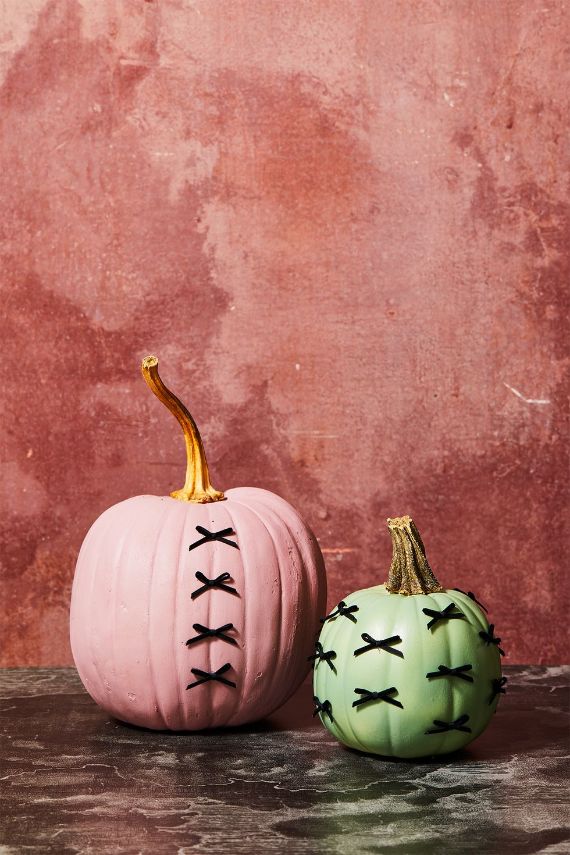
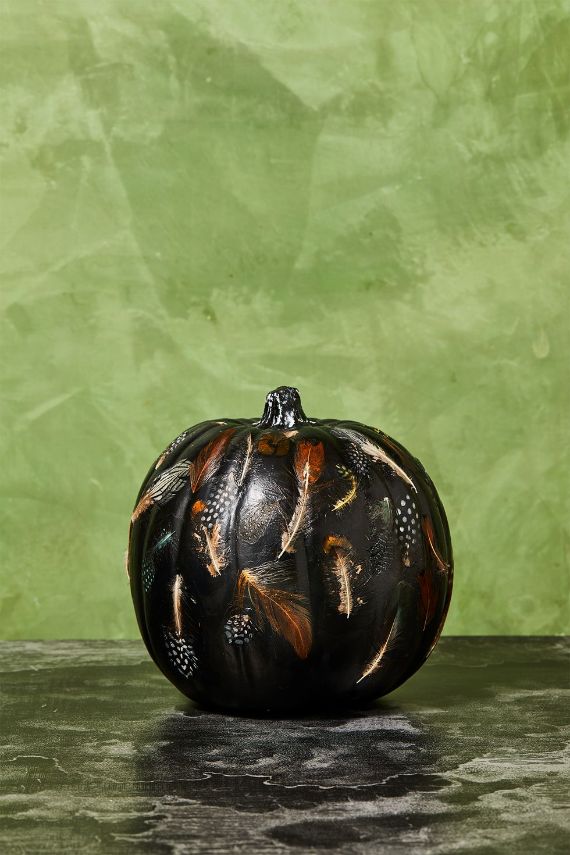
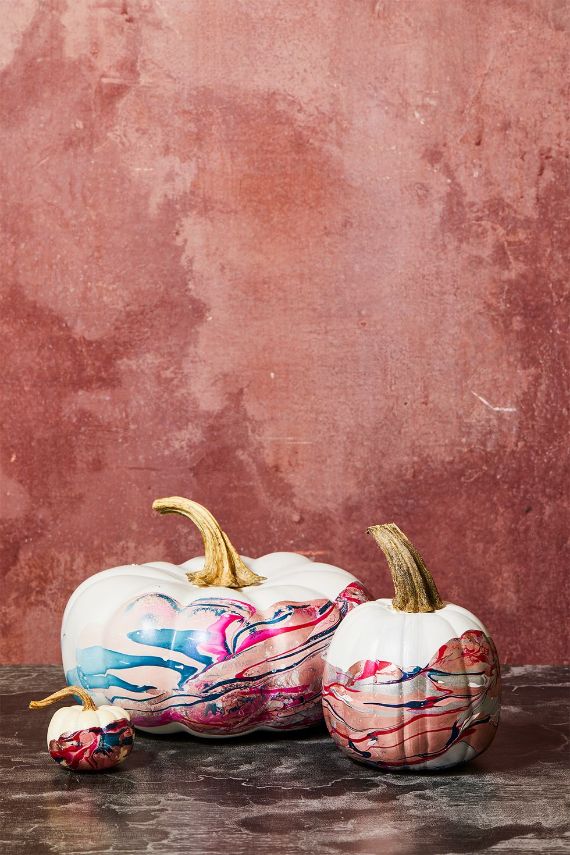
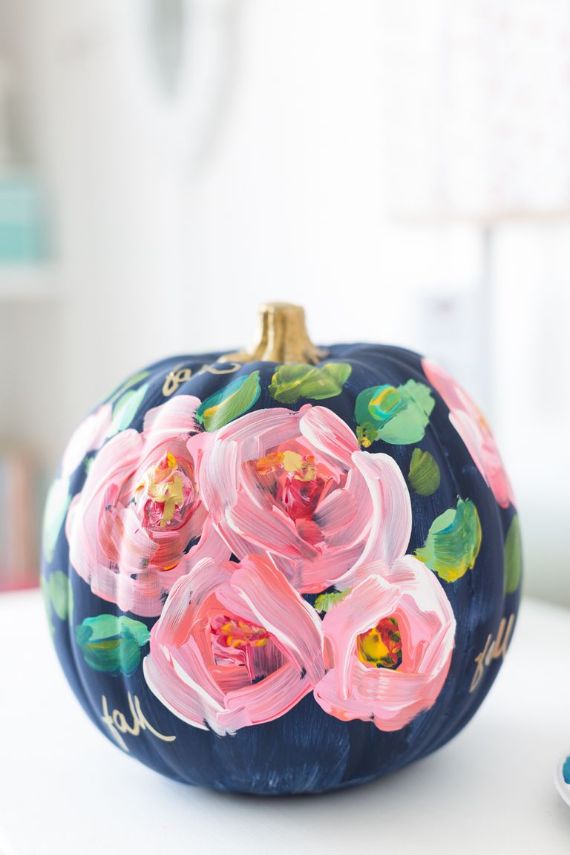
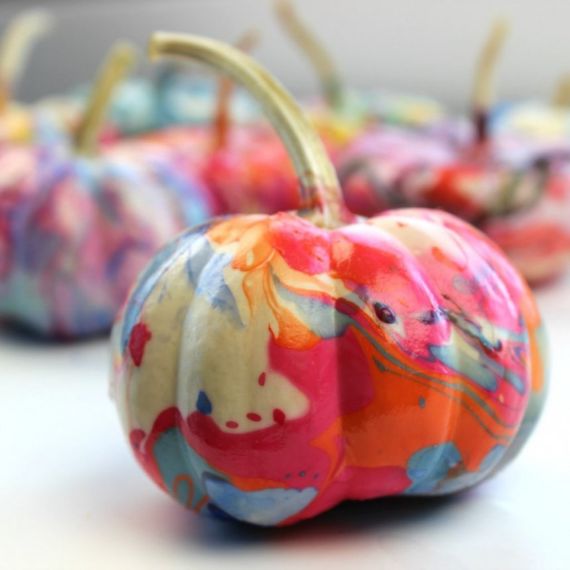

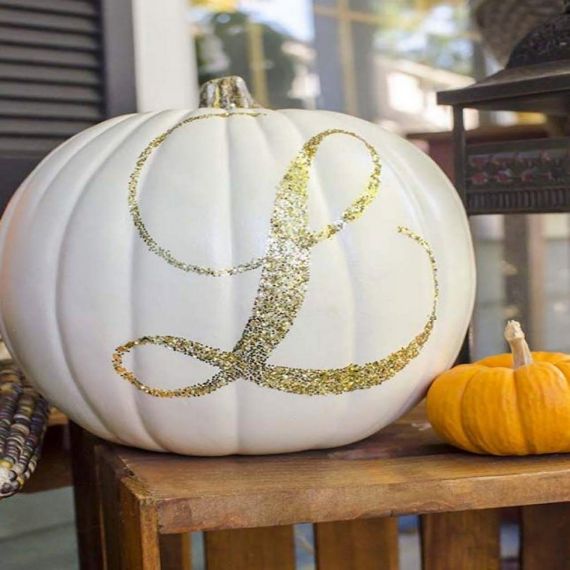

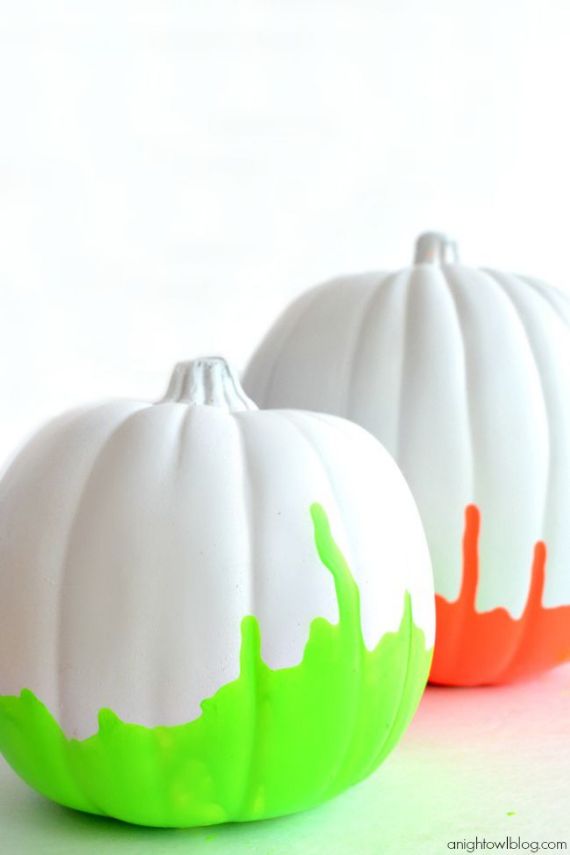
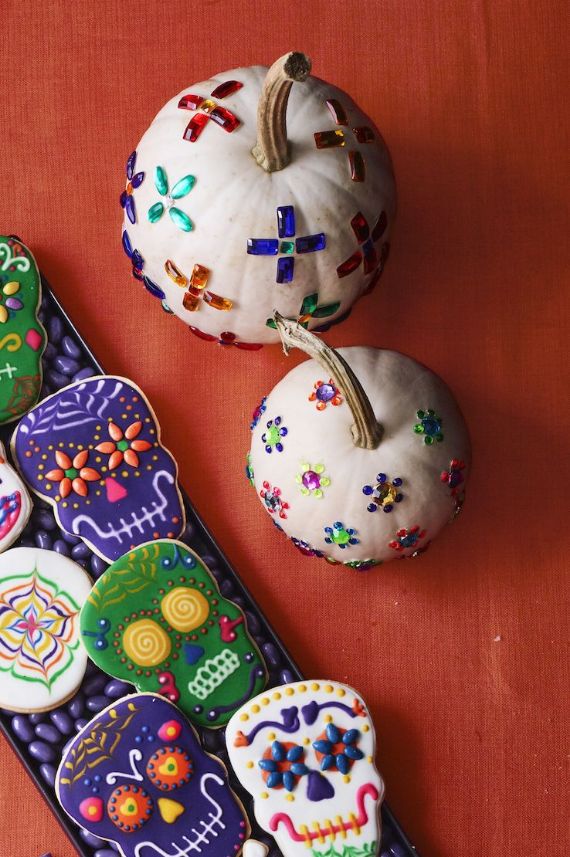
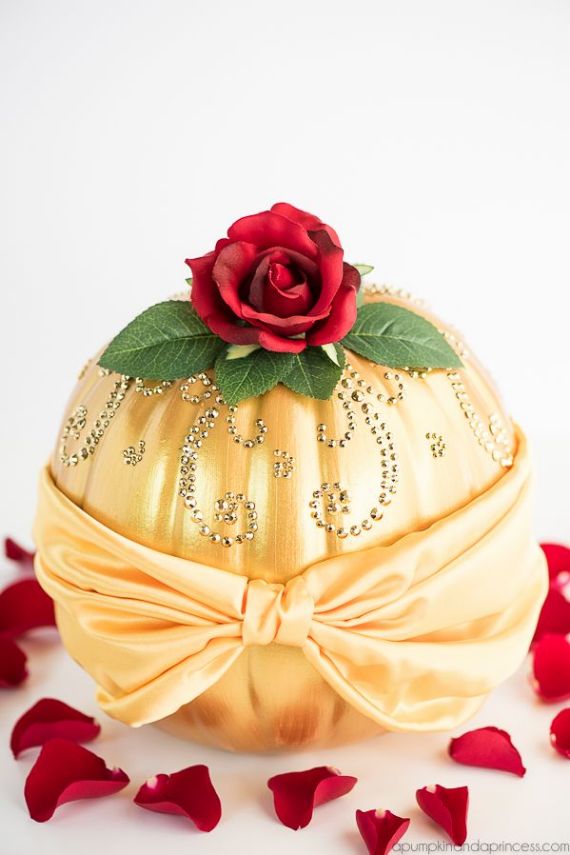
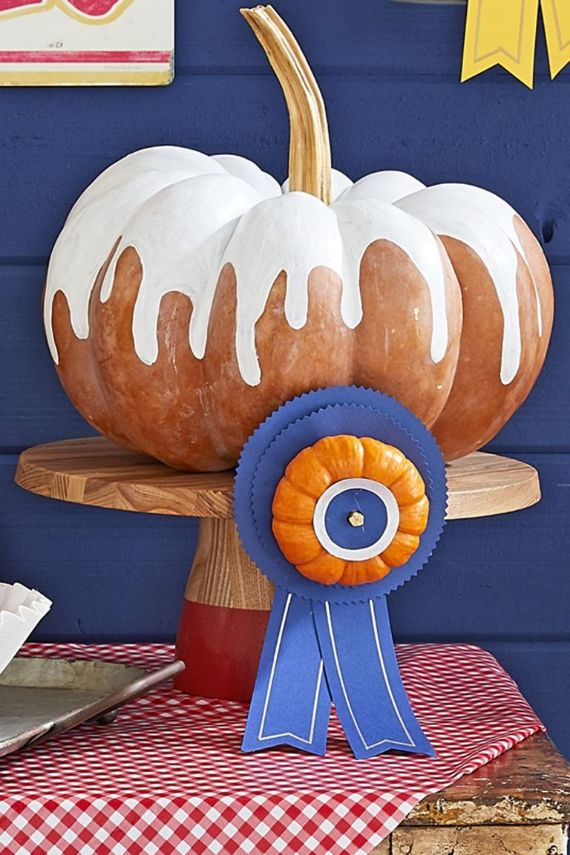
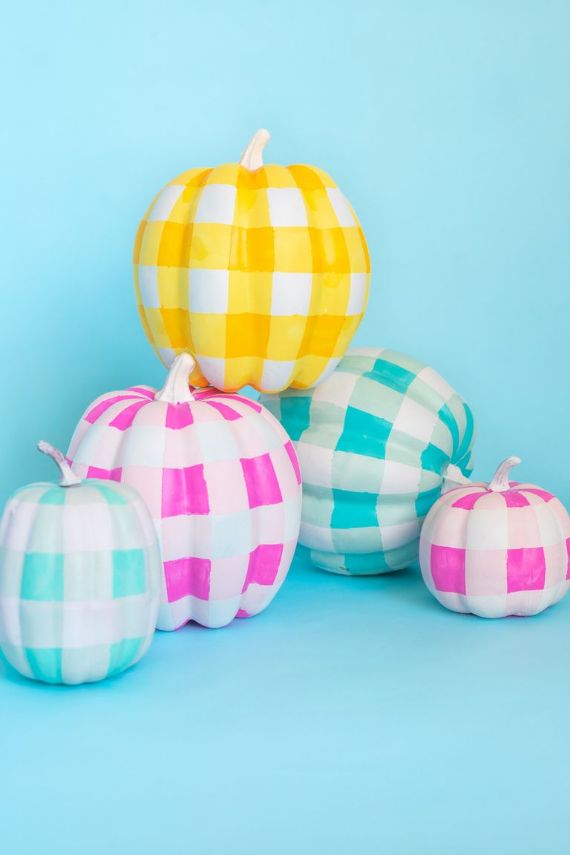
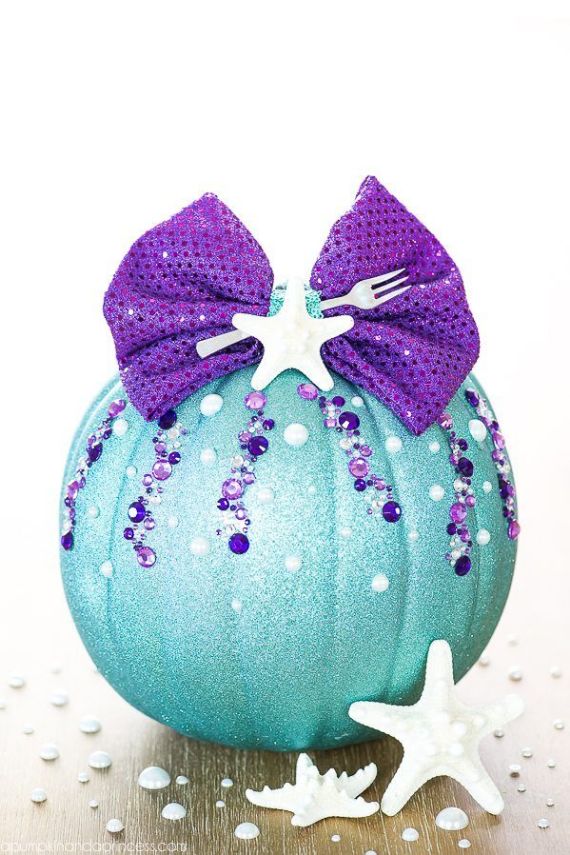
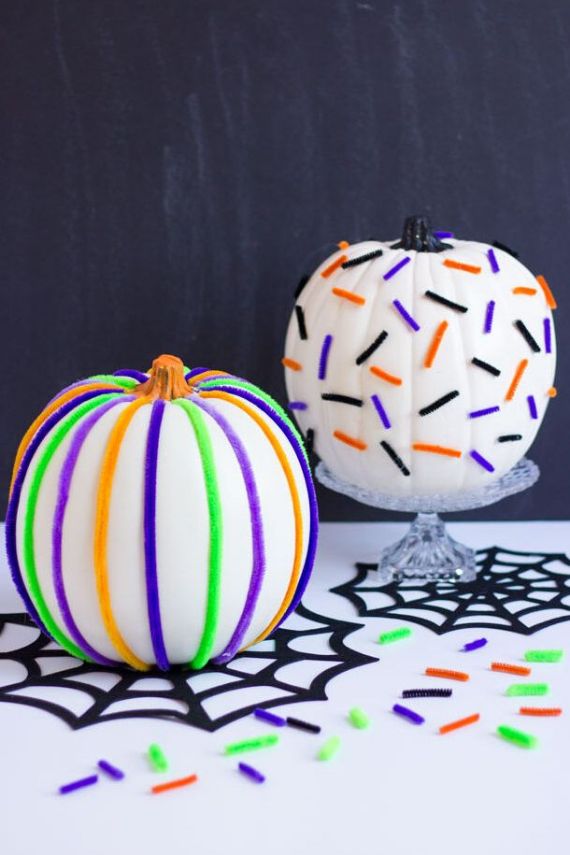
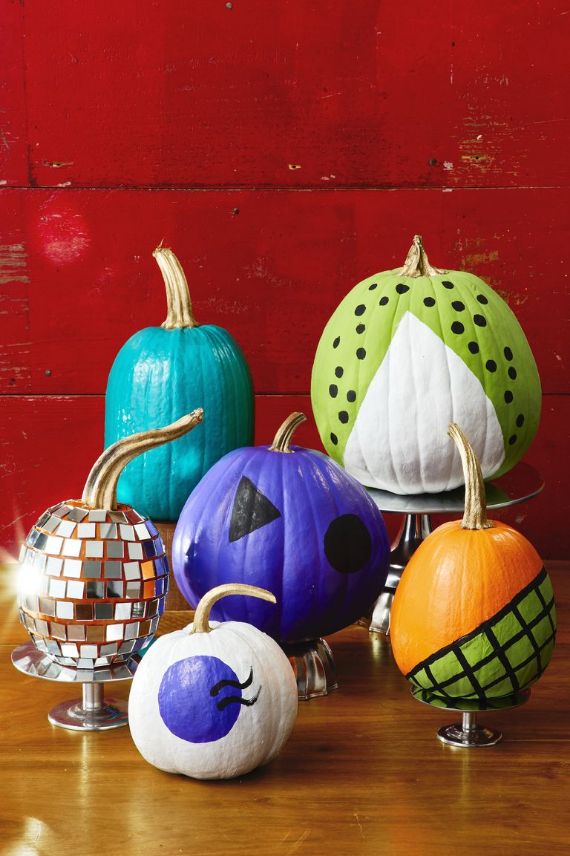

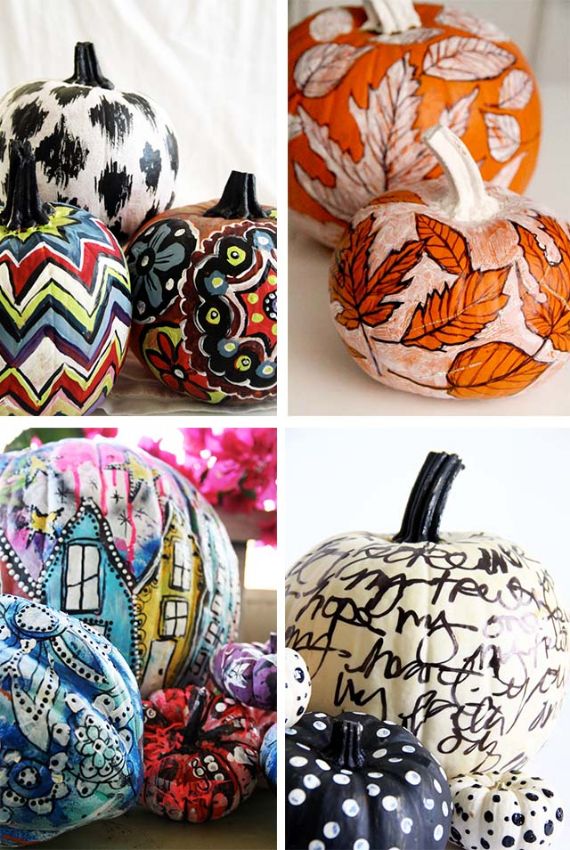
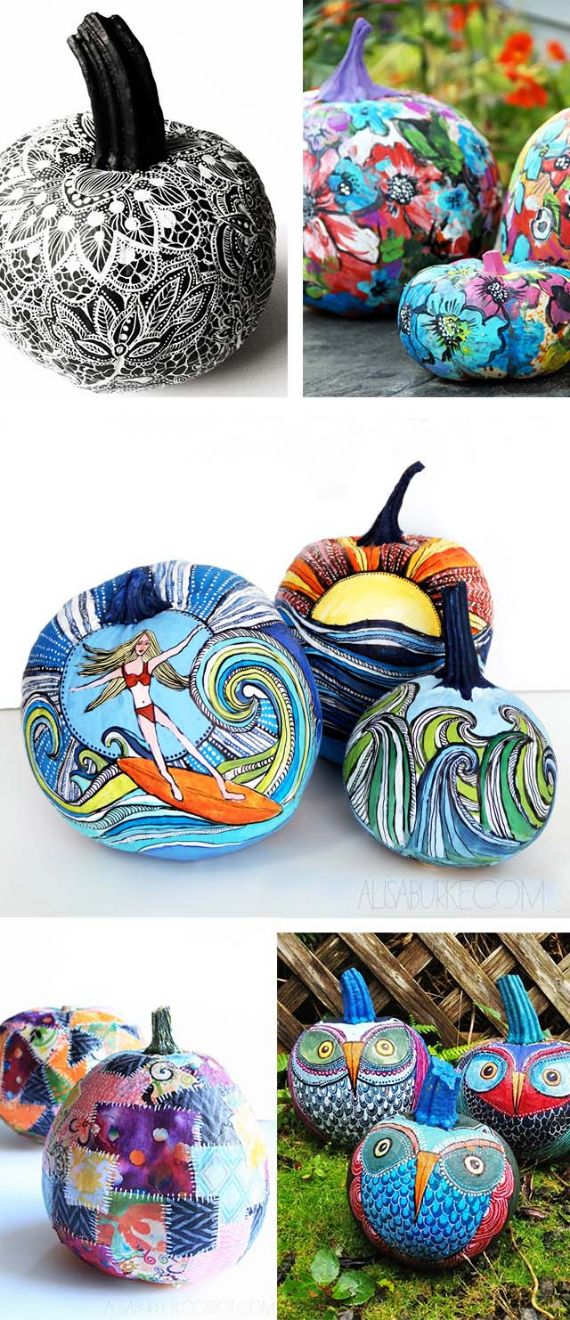
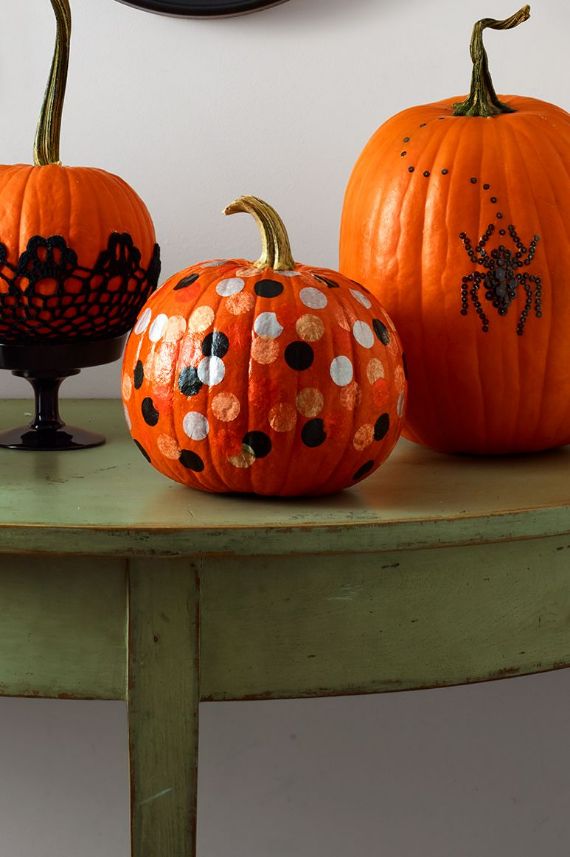
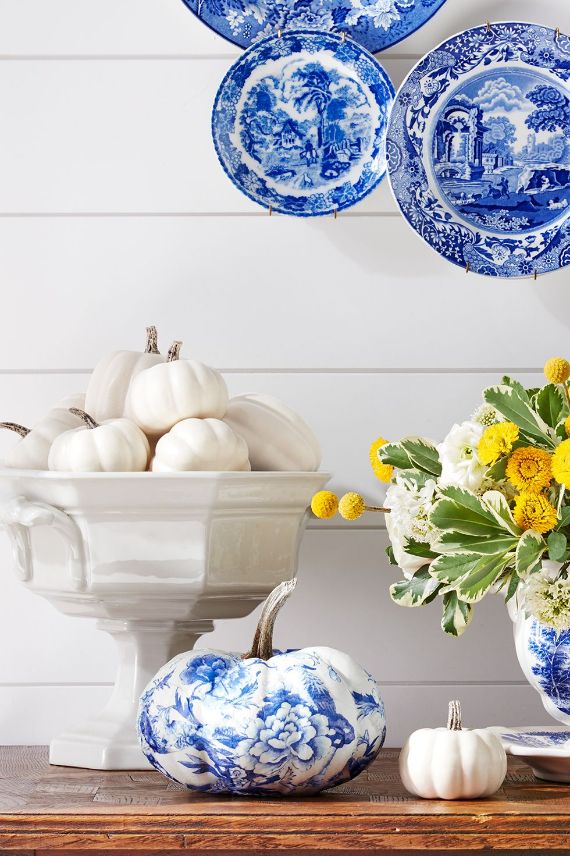
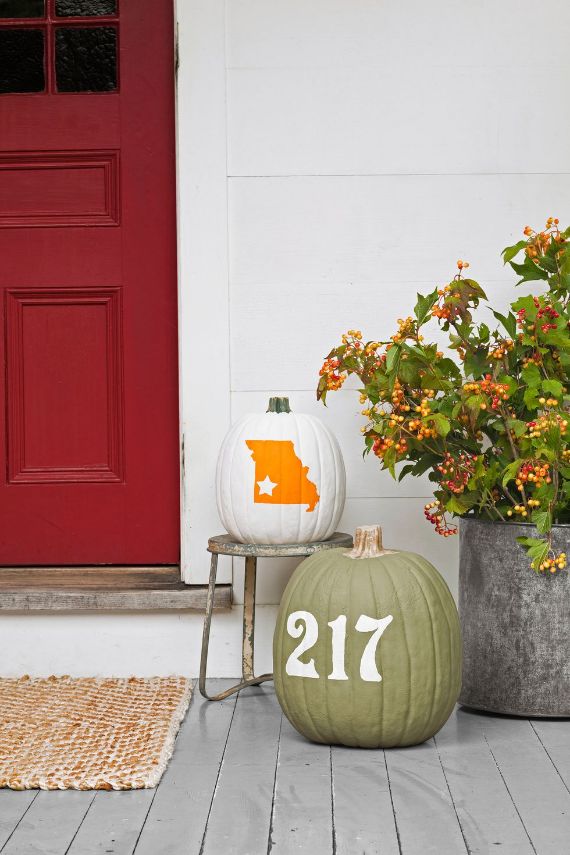
Image source Pinterest


 Ideas for Wonderful Halloween day")
